wiredawgchief
Active Member
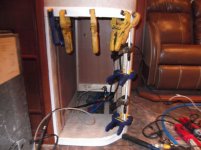
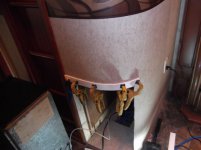
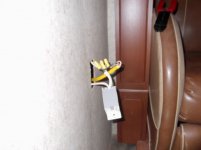
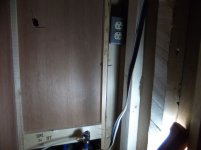
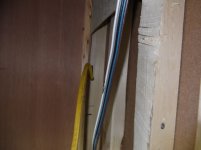
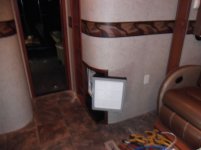
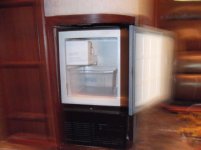
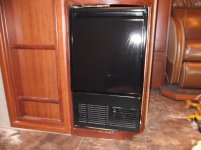
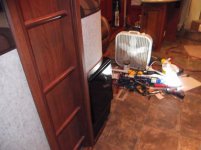
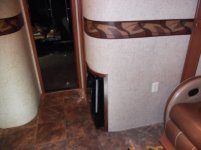
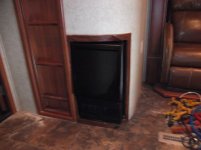
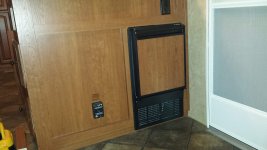
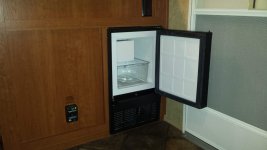
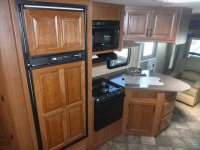
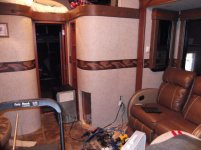
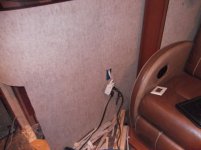
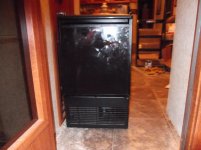
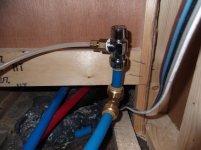
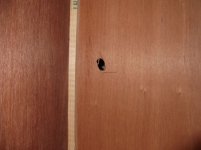
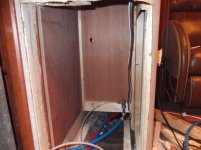
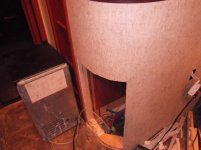
Friends, I've finally gotten around to installing my 13 year old U-Line ice maker into our 3950. The ice maker costs around $1,000 now and was $800 back in 2000. My biggest delay was trying to figure out where it would fit. I considered the basement, looked at the kitchen island, but nothing would work. Then I got curious what was in the area under the garage bathroom cabinet. I was concerned about cutting the rounded out outer area (see in picture) without know what structure, plumbing, or wiring might be in there. So, I went opened the cabinet door under the sink and drilled about a 5/8" hole and inserted my trusty video camera snake (Milwaukee) and could see it was all open. So, I measured from the doorway to about 3/4" passed the bathroom cabinet structure. I went out to the garage doorway and measure the same distance back. I needed 14" wide, 25" tall and 17" deep. So, I used a square to mark those dimensions on the curved wall, actually rotating the square along the curve while marking. I cut out the paneling using a utility knife. I needed to cut out a backing support for the paneling with a saws all. I measured again. I had to cut about 1/2" to 5/8" of a 1"X1" support just to the right of the ladder frame for going into the loft. I had to cut about 5/8" off another support for the paneling as it straightens towards the recliners. The ice machine fits in with about 1/16" clearance on either side. The ice machine vents to the front, so no worry about dissipating heat. Exposed are the hot and cold waterline for the sink in the garage bathroom sink. Another PEC waterline feeds the toilet, which is the one I cut, installed a 1/2" Shark-bite T connector, a short 3" piece of 1/2" PEC water line and a 1/2" Shark-bite 1/4 turn valve with a 1/4" compression nut for the ice maker waterline. I'm testing the unit now to see if old faithful still shoots out ice at a prolific (23lbs/day) ice. Here are the pictures so far. I still need to install a ground fault electric outlet that will come from the outlet by the recliner. One picture shows the hole I made to "see" into the area before major cutting. I'll take more pics and continue as I dress it up to look good. This is not for the meek...cutting stuff takes a lot of patience and care. Ron
Attachments
-
 Icemaker 001 (640x478).jpg149.4 KB · Views: 268
 -
 Icemaker 007 (640x478).jpg135.4 KB · Views: 228
 -
 Icemaker 006 (640x478).jpg144.8 KB · Views: 237
 -
 Icemaker 005 (640x478).jpg147.2 KB · Views: 225
 -
 Icemaker 004 (640x478).jpg133.5 KB · Views: 218
 -
 Icemaker 003 (640x478).jpg146.2 KB · Views: 226
 -
 Icemaker 002 (640x478).jpg144.7 KB · Views: 232